Customization
Apart from the built-in task types and default bar styles, Gantt lets you add your own task types, style them with CSS, and render custom content inside task bars with a template.
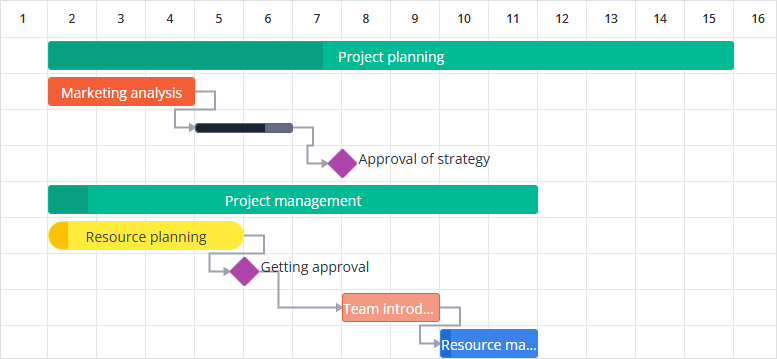
Adding custom task types
In addition to the built-in task types, you can add custom task types. Custom task types are defined via taskTypes and then used in the tasks array.
const taskTypes = [
  { id: "task", label: "Task" },
  { id: "urgent", label: "Urgent" },
];
const tasks = [
  {
    id: 5,
    text: "Critical fix",
    start: new Date(2024, 3, 18),
    end: new Date(2024, 3, 19),
    type: "urgent",
  },
]
Styling
You can customize the look of a task type by adding CSS rules for each task type using its id.
<script setup>
  import { Gantt } from "@svar-ui/vue-gantt";

  const tasks = [
    {
      id: 1,
      text: "Urgent task",
      start: new Date(2024, 3, 10),
      end: new Date(2024, 3, 13),
      progress: 40,
      type: "urgent",
    },
  ];

  const taskTypes = [
    { id: "task", label: "Task" },
    { id: "urgent", label: "Urgent" },
  ];
</script>

<template>
  <Gantt :tasks="tasks" :taskTypes="taskTypes" />
</template>

<style scoped>
  :global(.wx-gantt .wx-bar.wx-task.urgent) {
    background-color: #f49a82;
    border: 1px solid #f45e36;
  }

  :global(.wx-gantt .wx-bar.wx-task.urgent .wx-progress-percent) {
    background-color: #f45e36;
  }
</style>
Custom task types behave like standard tasks unless additional behavior is implemented via API interception.
Related sample:
Applying template to task bars
You can define your own template for task bars using the taskTemplate property.
Below is an example of the component that uses Vue's emit to send the custom-click action to Gantt.
<script setup>
    const props = defineProps({ data: {} });
    const emit = defineEmits(["action"]);

    function doClick(ev) {
        ev.stopPropagation();

        emit("action", {
            action: "custom-click",
            data: {
                clicked: !props.data.clicked,
                id: props.data.id,
            },
        });
    }
</script>

<template>
    <template v-if="data.type !== 'milestone'">
        <div class="wx-text-out text-right">{{ data.text || "" }}</div>
        <button @click="doClick">
            <template v-if="data.clicked">
                Was clicked
            </template>
            <template v-else>
                Click Me
            </template>
        </button>
    </template>
    <template v-else>
        <div class="wx-text-out text-left">{{ data.text || "" }}</div>
    </template>
</template>

<style scoped>
    button {
        font-size: 10px;
        position: relative;
        z-index: 2;
        font: var(--wx-gantt-bar-font);
    }

    .text-right {
        left: 100%;
        top: -2px;
    }

    .text-left {
        right: 100%;
        top: -2px;
    }

    .text-right,
    .text-left,
    button {
        padding: 0 2px;
        font-size: 12px;
    }
</style>
In the next example we import the component above and listen to the custom-click action to trigger the update-task action on click.
<script setup>
    import { getData } from "../data";
    import { Gantt } from "@svar-ui/vue-gantt";
    import MyTaskContent from "../custom/MyTaskContent.vue";
    import { ref } from "vue";

    const data = getData();
    const api = ref(null);

    function doClick(ev) {
        const data = ev;
        api.value.exec("update-task", {
            id: data.id,
            task: {
                clicked: data.clicked,
            },
        });
    }
</script>

<template>
    <Gantt
        :oncustomclick="doClick"
        :taskTemplate="MyTaskContent"
        :tasks="data.tasks"
        :links="data.links"
        :scales="data.scales"
        ref="api"
    />
</template>