Integration with SvelteKit
This guide covers the key steps to integrate SVAR Gantt into a SvelteKit application: configuring Vite, applying a theme, setting up layout, and enabling task editing.
The complete source code is available at github.com/svar-widgets/gantt-demo-sveltekit. This guide covers the basic branch of the repo.
Creating a project
Create a new SvelteKit application:
npx sv create my-gantt-app --template minimal --types ts
cd my-gantt-app
npm install
Then add the SVAR Gantt package:
npm install @svar-ui/svelte-gantt
Configuring Vite
We need to configure Vite for SVAR Gantt. The Gantt package requires a build-time variable. Add a define entry to vite.config.ts:
import { sveltekit } from '@sveltejs/kit/vite';
import { defineConfig } from 'vite';

export default defineConfig({
  plugins: [sveltekit()],
  define: {
    __APP_VERSION__: JSON.stringify("2.5.0")
  }
});
Adding the Gantt component
With the package installed, create src/lib/components/GanttChart.svelte and import the Gantt widget:
<script lang="ts">
  import { Gantt } from "@svar-ui/svelte-gantt";

  const tasks = [
    {
      id: 1,
      text: "Project Planning",
      start: new Date(2024, 0, 1),
      end: new Date(2024, 0, 10),
      progress: 100,
      type: "summary",
      open: true,
    },
    {
      id: 2,
      text: "Requirements Gathering",
      start: new Date(2024, 0, 1),
      end: new Date(2024, 0, 5),
      progress: 100,
      parent: 1,
    },
    // ... more tasks
  ];

  const links = [
    { id: 1, source: 2, target: 3, type: "e2s" },
  ];

  const scales = [
    { unit: "month", step: 1, format: "%M %Y" },
    { unit: "week", step: 1, format: "Week %w" },
  ];
</script>

<div style="height: 600px; width: 100%;">
    <Gantt {tasks} {links} {scales} />
</div>
To display the component, update src/routes/+page.svelte:
<script>
  import GanttChart from "$lib/components/GanttChart.svelte";
</script>

<div class="container">
  <header>
    <h1>My Gantt Chart</h1>
  </header>
  <main>
    <GanttChart />
  </main>
</div>
Run npm run dev to check the output. The component renders, but elements are misaligned and unstyled. The theme is missing.
Applying the theme
The Svelte package embeds its styles directly in the components, so no separate CSS import is needed. Gantt requires a theme wrapper for visual styling. Wrap the Gantt with Willow to apply the default theme. For full customization options, see the Styling guide.
<script lang="ts">
  import { Gantt, Willow } from "@svar-ui/svelte-gantt";

  // ... tasks, links, scales definitions ...
</script>

<div style="height: 600px; width: 100%;">
  <Willow>
      <Gantt {tasks} {links} {scales} />
  </Willow>
</div>
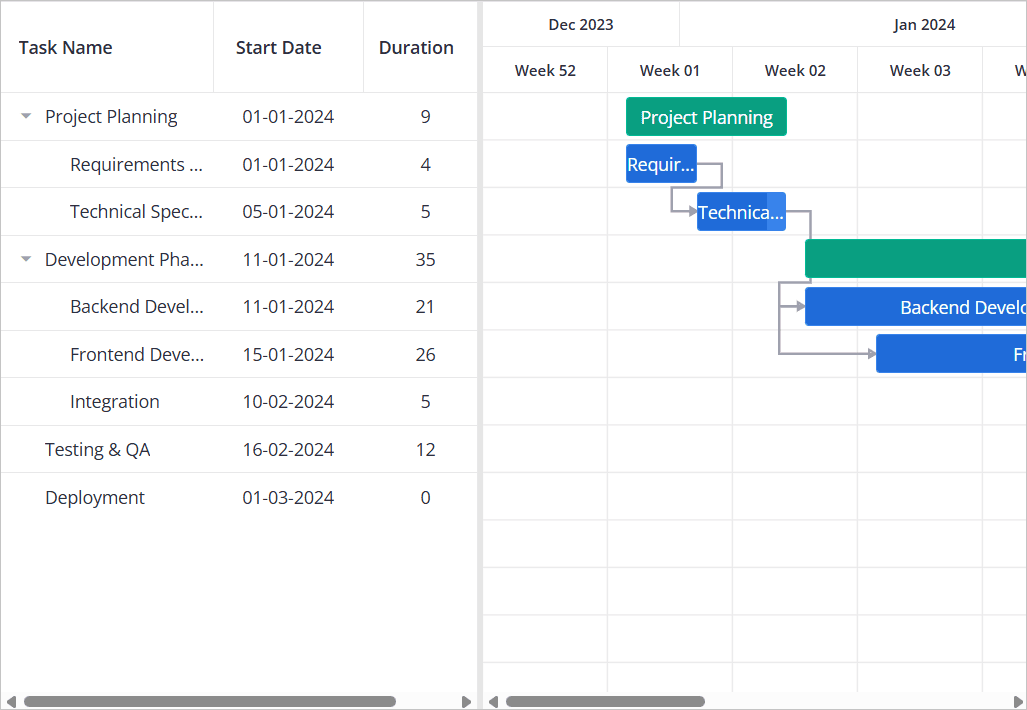
The chart now shows styled headers, colored task bars, and proper visual feedback.
Fixing the layout
To make the Gantt fill available space instead of a fixed 600px height, change the container to use percentage height:
<div style="height: 100%; width: 100%;">
  <Willow>
      <Gantt {tasks} {links} {scales} />
  </Willow>
</div>
The Gantt might collapse or not fill the space correctly. The issue is that the theme wrapper needs explicit height. Create src/app.css and add this:
html,
body {
  height: 100%;
  margin: 0;
}

.wx-theme {
  height: 100%;
  overflow: hidden;
}
SVAR theme wrappers apply .wx-theme to their root element. Without explicit height, it defaults to content-based sizing, which breaks percentage-based layouts.
Import the CSS in your layout. Update src/routes/+layout.svelte:
<script>
  import "../app.css";

  let { children } = $props();
</script>

{@render children()}
The Gantt now fills its container correctly.
Enabling edit operations
To let users modify task properties, add the Editor reference component. Capture the Gantt API reference with bind:this and pass it to Editor:
<script lang="ts">
  import { Gantt, Willow, Editor } from "@svar-ui/svelte-gantt";

  let api = $state<any>(null);

  // ... tasks, links, scales definitions ...
</script>

<div style="height: 100%; width: 100%;">
  <Willow>
      <Gantt {tasks} {links} {scales} bind:this={api} />
      <Editor {api} />
  </Willow>
</div>
See how to access Gantt API to know more about bind:this={api}.
Double-clicking a task opens the editor panel. Users can change the task name, dates, progress, and other properties.
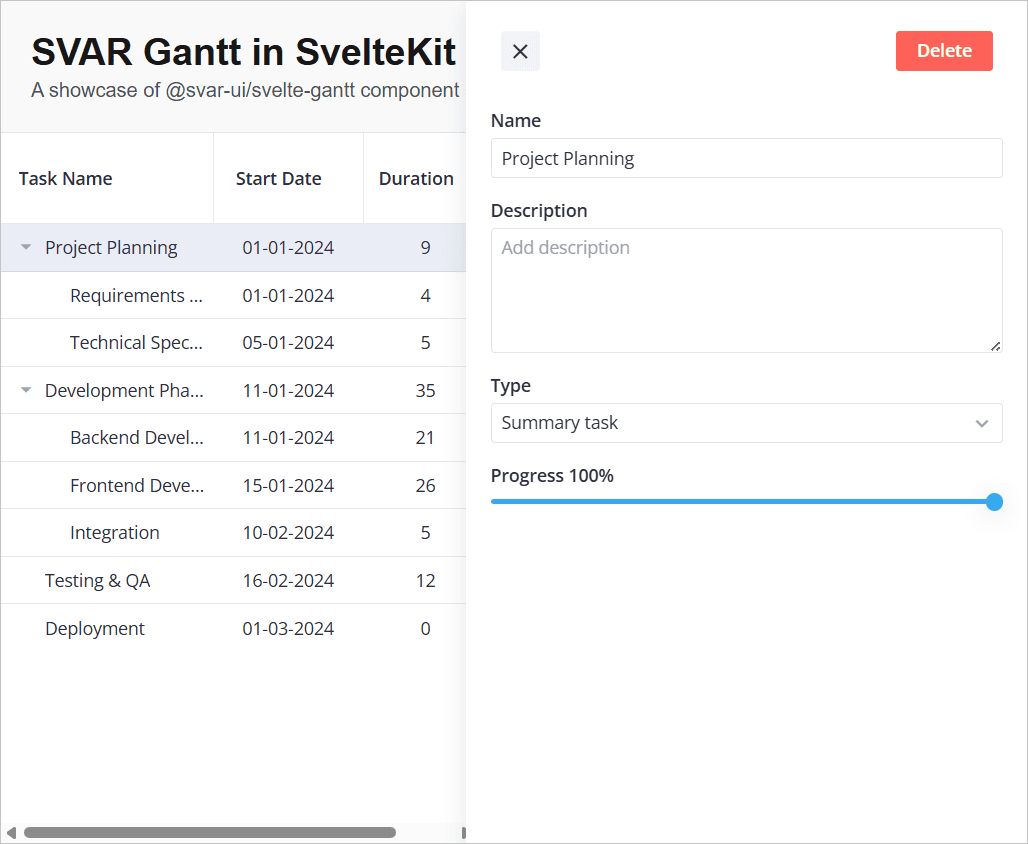
At this point you have a working Gantt with task editing and client-side data. To persist changes to a server, continue with Connecting SVAR Gantt to a backend.
Related articles:
- tasks API reference: all available task properties, including custom fields, duration-based tasks, and task types
- links API reference: dependency types and lag time configuration
- Editor guide: custom fields, validation, and editor layouts
- Localization guide: date format specifiers and locale configuration